Monday 30 December 2013

high poly maps

When I had reached this point of taking the uv snapshot I was so happy and pleased with my uv lay out and from here I used Photoshop to cut and merge my maps together. The cavity map when applied made the colour map horrible at certain areas so I went in and deleted some lines in photo shop to fix the model a bit more.
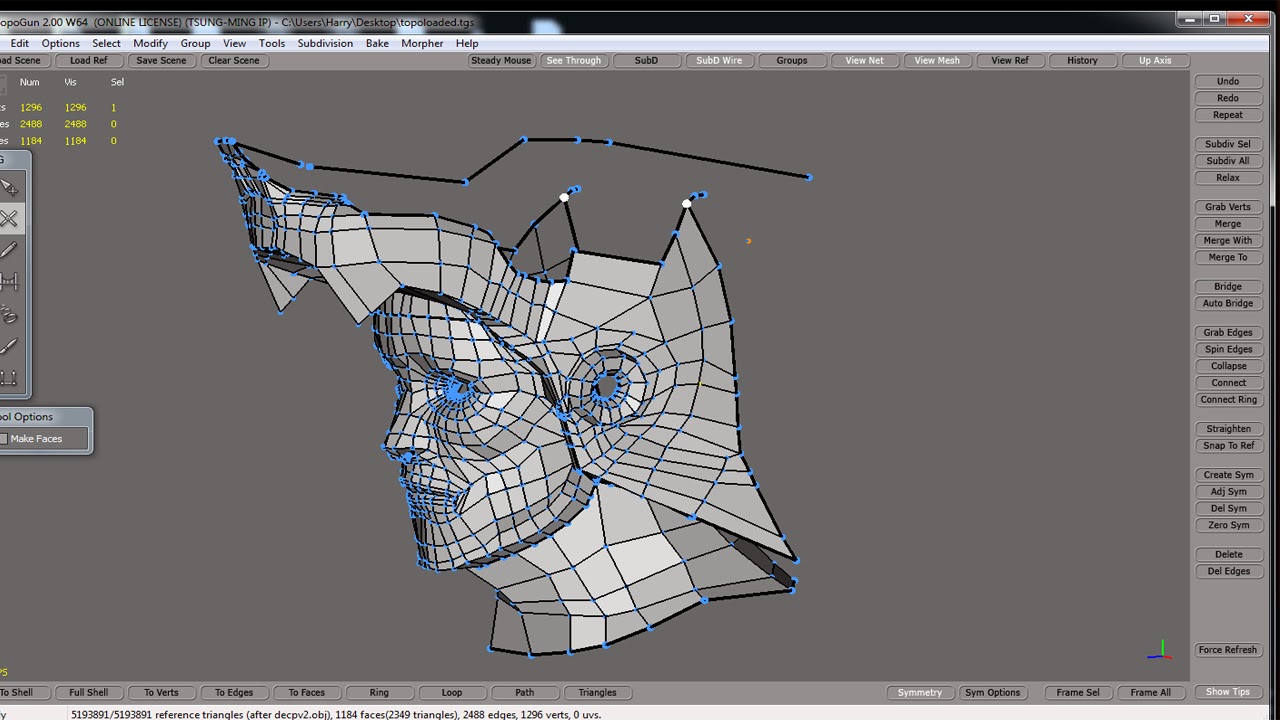
Uv snap shot

Colour map
To apply the cavity map I layered it on top of the colour map in Photoshop from here I played with the filters and levels to produce a nice effect on the colour map.

first cavity map


new cavity with less intense detail


finished colour map

From this new colour map I was able to make a specular map to produce this I duplicated the colour map and with this new colour map I go to filter tab in Photoshop and turn it black and white. This is to make the white shiner and the darker parts less reflective. To make the skin less shiny I put a black layer over the skin and lowered the capacity to bring it to a suitable shade before saving it out as my specular map.

specular map

Normal map this is to show the bumps and detail of my model I found that some of the maps that were produced didn't turn out to well. To fix this I tried to smooth out the colour to fix the normal map.

normal map

Finally once I was happy with my maps I used the colour map to help create an emissive map. An emissive map helps to great glows on certain parts of the body and for me this was easy to produce. I highlighted the parts I wanted to glow on my colour map, and from there I used a new layer filled with black and applied the same bright blue on top. So in this new layer it will only consist of black with the glowing blue on top. When applied this map will cause any colour that been applied over the black to glow. 

Emissive map

After all these creations I have made 4 maps at 1024x1024 so if making a foot print total of 4096x4096 is producing 4 maps then I have successfully created the appropriate texture memory foot print for the brief.

Sunday 29 December 2013

creating map

So after learning about what a digital foot print was I would still want to talk about how I generated my maps. The image below was an earlier test before my new uv layout was done. This is just explaining how I created my maps for my model.

To generate the maps I would use topogun still following the tutorial. To set up a reference image for this I used my super high model from when I first exported out of z brush. I then loaded in the appropriate mesh which would lay over the reference from here topogun has a generate maps tab.

Going into the tab I was able to select what maps to develop and set a cage on top of the mesh to see what colour was extracted, basically if the cage didn’t cover the mesh it would not be able to absorb the detail and colour reference to produce the maps. By using this process I was able to extract 3 type of maps that I wanted. By doing this for each piece I would have vast library built out of these maps.


The maps that I wanted to generate were a normal map, cavity map and colour map.


Saturday 28 December 2013

unwrapping and uv layout

Unwrapping helmet was really difficult I had to split the helmet piece into 3 sections in order to try and spread the uv’s out.  Originally I had unwrapped everything into their own uv space but later discovered that it was the wrong process as we had to produce a digital foot print. I was not sure what that was at the time but now I think I understand is that if I produce various maps they would have to calculate to a total of number required.


So in this case for a high poly model the footprint was 4096x4096. As I was not aware I had created and uv mapped everything separately and generated maps for each piece. As a major setback I had to go back and recalculate all the uvs to try and fit the into the uv space.

I would say that at this point I had hit a major wall in my modelling, as this was another time consuming process. I don’t know if I had missed this on a tutorial because I don’t remember anything about it or even heard of digital foot print on any tutorials before. A friend kindly tried to explain it to me so I can get a better understanding.

I felt it was an extremely important issue that I had missed and should have known. I also tried to look up for some tutorials but found very little explanation or success on understanding what it really is. But at the end all I knew was that the uv’s would have to share the same uv space in order to make the requirements of the brief.

Friday 27 December 2013

high poly model


Once I had remade every piece I was still way over the poly limit, so I started to delete edges,vertices and some faces that would not be seen to reduce poly count. There was also times were I had to go back and redo the tapoloogy in topogun. At this point I felt quite lost and frustrated with the process and started to doubt what I was doing. So I looked at other modelling tutorials provided on digital tutors. It seemed that the pipeline was to use topogun to ret apologize the mesh.

With much frustration I continued to finish of my high poly model even though I knew there was a flaw somewhere in my modelling process. The flaw was probably trying to get every detail possible were as topogun you make a blocked out shape of the model to extract the detail which later found out and finally was able to reduce the poly count. This was difficult to produce because of the way I had made my model.

total poly count of 9728 tris

Here is my completed topology of my high poly character. I'm quite pleased that I managed to reduce the poly count as it’s something I was struggling with. My main concern now is the helmet. It was really frustrating to create. This is my own fault as I modelled it not being aware how difficult it would be to recreate if I could go back and change something it would be to remake the helmet and make it a lot easier to model I also had similar problems with the belt.


Monday 23 December 2013

topogun and retapologising

Now that I had a super high reference mesh I was able to start creating my high poly version suitable for games. I began exporting the reference of each individual piece to start creating a new and reduced mesh.

I bought topogun to help as it seemed like a very reliable package to create low poly version of the high reference. Trying to create new topology was very time consuming as I was only new to this program and had to learn all the different functionality. So with a lot of crashes and trial and error with some frustration I was able to start creating a lower mesh.

So far working in a pipeline method, here is how I have broken it down;
-Creating super high model in z brush and Maya
-prepare model for export
-ret apologize in topogun
I hope by following this structured pipeline il be able to have my high poly character made.


So once I had finished ret apologizing each piece I would import into Maya to see what my poly count was and from here I would try to add or take away unneeded lines or face that would not be seen.


Saturday 21 December 2013

prepare to export

So to help reduce the pressure when exporting out my models I decided to decimate it and group them into different parts. This would mean that I would reduce the poly count but it should still keep the same level of detail.

Here is the before and afters of the decimated model parts as you can see the parts have not changed in much detail because using decimation master in z brush you have control on how much you want to reduce the polys by.


I found this knowledge to be really helpful and could be used in future projects to help reduce the polys for easier export. Sadly I didn’t use this method at the end as there were some implications and faults that I could not fix, so I ended using the high quality mesh.

 But learning to group and mask parts was a big help to separate the model out. This would benefit me to break the model up and be able to make a new and simpler mesh in topogun. But sadly this was a bad set back as it did not work the way I wanted.