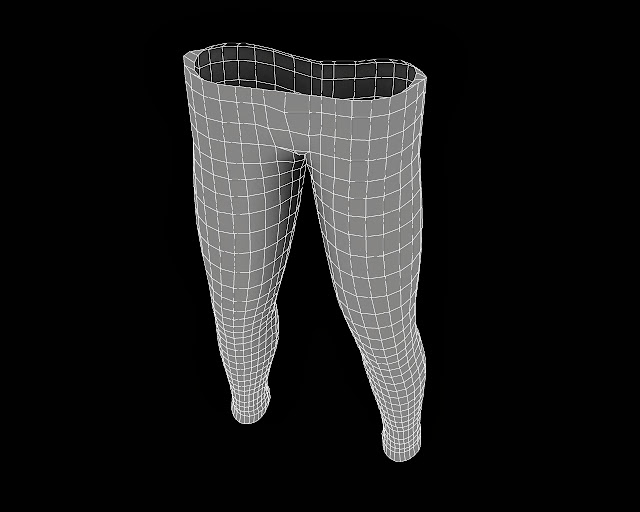
Using the base mesh provided by Zbrush as a guide to show me
the right proportions of my model I decided to experiment with trousers as a
different approach to my original sketch. To do this I duplicated the sub tool
of the body mesh and used poly frame to help mask everything except for the
legs.
Once I had everything masked I was able to hide the rest of
the body parts and select delete hidden, which deleted the hidden geometry and
left me with the legs of my model. To continue to make trousers I Imported the
legs into Maya to mend the crotch area as well as to thicken the legs so it
looked more like trousers before exporting it back to Zbrush.
Even though my final character may not be wearing trousers, I found that following the digital tutors tutorial helped me understand how to create trousers for when I may need to use this method for future designs and concepts.


No comments:
Post a Comment