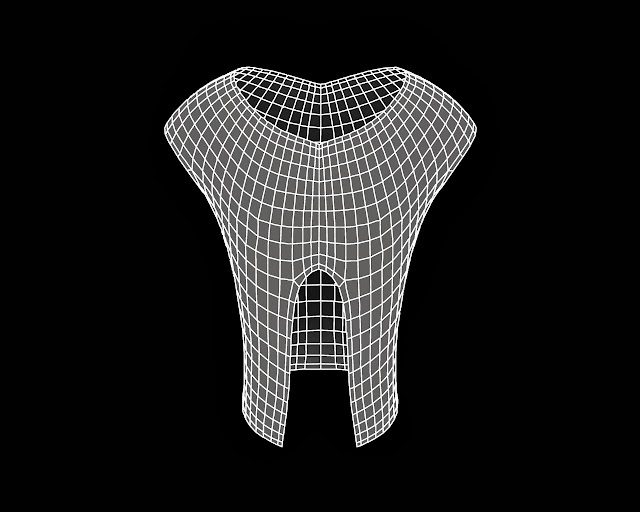
To make the jacket for my Character I used the same method
as I did for the trousers such as duplicating the mesh and deleting the hidden
geometry leaving only the torso and proceeding to import into Maya.
When in Maya I greatly reduced the geometry of the top by
deleting vertices and edges this was quite a time consuming method but I wanted
to try and get it low enough poly to work from. Again this is just an exercise to
get use to this pipeline and will be altering the jacket to suit my character.
Here is an example of what it possibly could look like as I was
experimenting with fur in Maya. At first I was unable to create any fur but I
figured out the issue. The problem was that when exporting an object made in Zbrush,
it did not have a Uv layout. So to fix this I set it to automatic mapping to
resolve this problem. But I know when it comes to painting the object I will
have to be prepared to Uv map and unwrap the model, but for now a basic layout
will do for this test.
I then imported the model back into Zbrush, the fur material did not transfer over. so I decided to find another way to create fur. I explored through online tutorials to see what alternative ways there was to make fur. There is actually a sub palette within Zbrush called fiber meshes this is to generate hair and fur effects. I found fiber mesh easy to work with because I could manipulate it quite easily with all the different settings.
This is the result in Zbrush using fiber mesh but I think its to early to start thinking about fur as I still need to create the rest of my body meshes.


No comments:
Post a Comment